Kombucha Brewing Tips
Philippe spills the tea on how to home brew the best kombucha
Ever try to make your own booch? Only thought about it? Philippe shares his secrets for what every beginner needs to know.
We at Seek North Kombucha are proud of what we do here. We’ve spent a lot of time perfecting everything you see and taste. We’ve talked to all kinds of people. We’ve agonized about every little detail. We experimented for years before we even dreamt of releasing our, product, and then experimented more. It took a lot of hard work to bring all those smiles to your face.

Booch brewing has taken off, and it seems there are as many home brewers as there are fans of us. Sometimes, those people are one and the same, too. Brewing is hard work, and can be extremely intimidating. The potential for mistakes are fairly infinite, and the process is really confusing. If you’re going to home brew, we want you to have safe, delicious batches, and be just as proud of your work too.
So, who better to to guide you through than our very own Philippe Trinh, the expert brewer responsible for creating, concocting, experimenting, and perfecting all the recipes that made the Seek North ‘booch that’s taking the stores by storm? Here’s all the important stuff he learned when he started, so we can all make the world a little more fermented.
Clean, clean, CLEAN. Before we even start talking about brewing, we cannot stress this part enough. Your kombucha SCOBY is a bacteria, and albeit a good one, it’s still susceptible, like all living things, to bad bacteria. Before, after, and during the entire brewing and fermenting phases, you must keep all surfaces, bottles, and your hands, clean and sanitized. In washing all our supplies, we like to use a water and vinegar solution in a spray bottle, since soaps can also harm the SCOBY.
A spray bottle of the solution is used to clean all surfaces, and constantly clean our hands in the brewing process. The bottles and jars you have should also be sanitized before brewing use. Giving theses a good dip into boiling water, and an air-dry, should do the trick.
The tea. This is the very base of all your booch, so let’s start here. Truly, we’re here to tell you that there’s not that much to tell, because simple is better. It’s not really recommended to use teas with fancy oils or flavorings because this can also harm your SCOBY. And just like a lot of us, SCOBYs love caffeine. It hypes them up to do their job, so the healthiest, most efficient SCOBYs are ones that are fueled by some degree of black tea.
In Seek North Booch, we like to use at least 25% black tea in any home-brewed blend. Yes, you can also blend teas, but remember to keep it simple with teas that don’t have any extra bling added to them. If you want flavors, you can add them later, on the 2ndferment, which we’ll get to. We also find that organic teas make the optimum kombucha.
The sugar (aka, SCOBY food). In modern times, sugar has become a four-letter word, but really, it’s not all bad. A large part of the reason your booch is so filled with good stuff is because of this sugar that gets added. It’s actually there for the SCOBY, not you. Whatever sugar you add will mostly be eaten up by the SCOBY in doing its job, still leaving you with a healthy, low-sugar beverage.
Here, again, simple is better. SCOBYs aren’t very health conscious, so they love caffeine, along with easily accessible, quickly digested sugar. While it might sound tasty to use maple syrup, vanilla-infused turbinado sugar, or agave nectar, we don’t recommend it. In our brews we just use simple, organic cane sugar. Our SCOBYs love it.
The magic. This is where it happens. Sweet tea and SCOBY in a sanitized vessel, you’re ready to let nature do what it does best. The fermentation process has a lot of debate surrounding it, and a lot of ways to make it happen too, none of them actually being wrong. It can get tricky on this part. Here, you should let your tastebuds be your guide. You should be tasting your kombucha daily, and looking for an even balance of tartness, musky fermentation, sweetness, and tea flavor – not too much of either, but all present. A pH strip should show between 2.9-3.2 when ready.
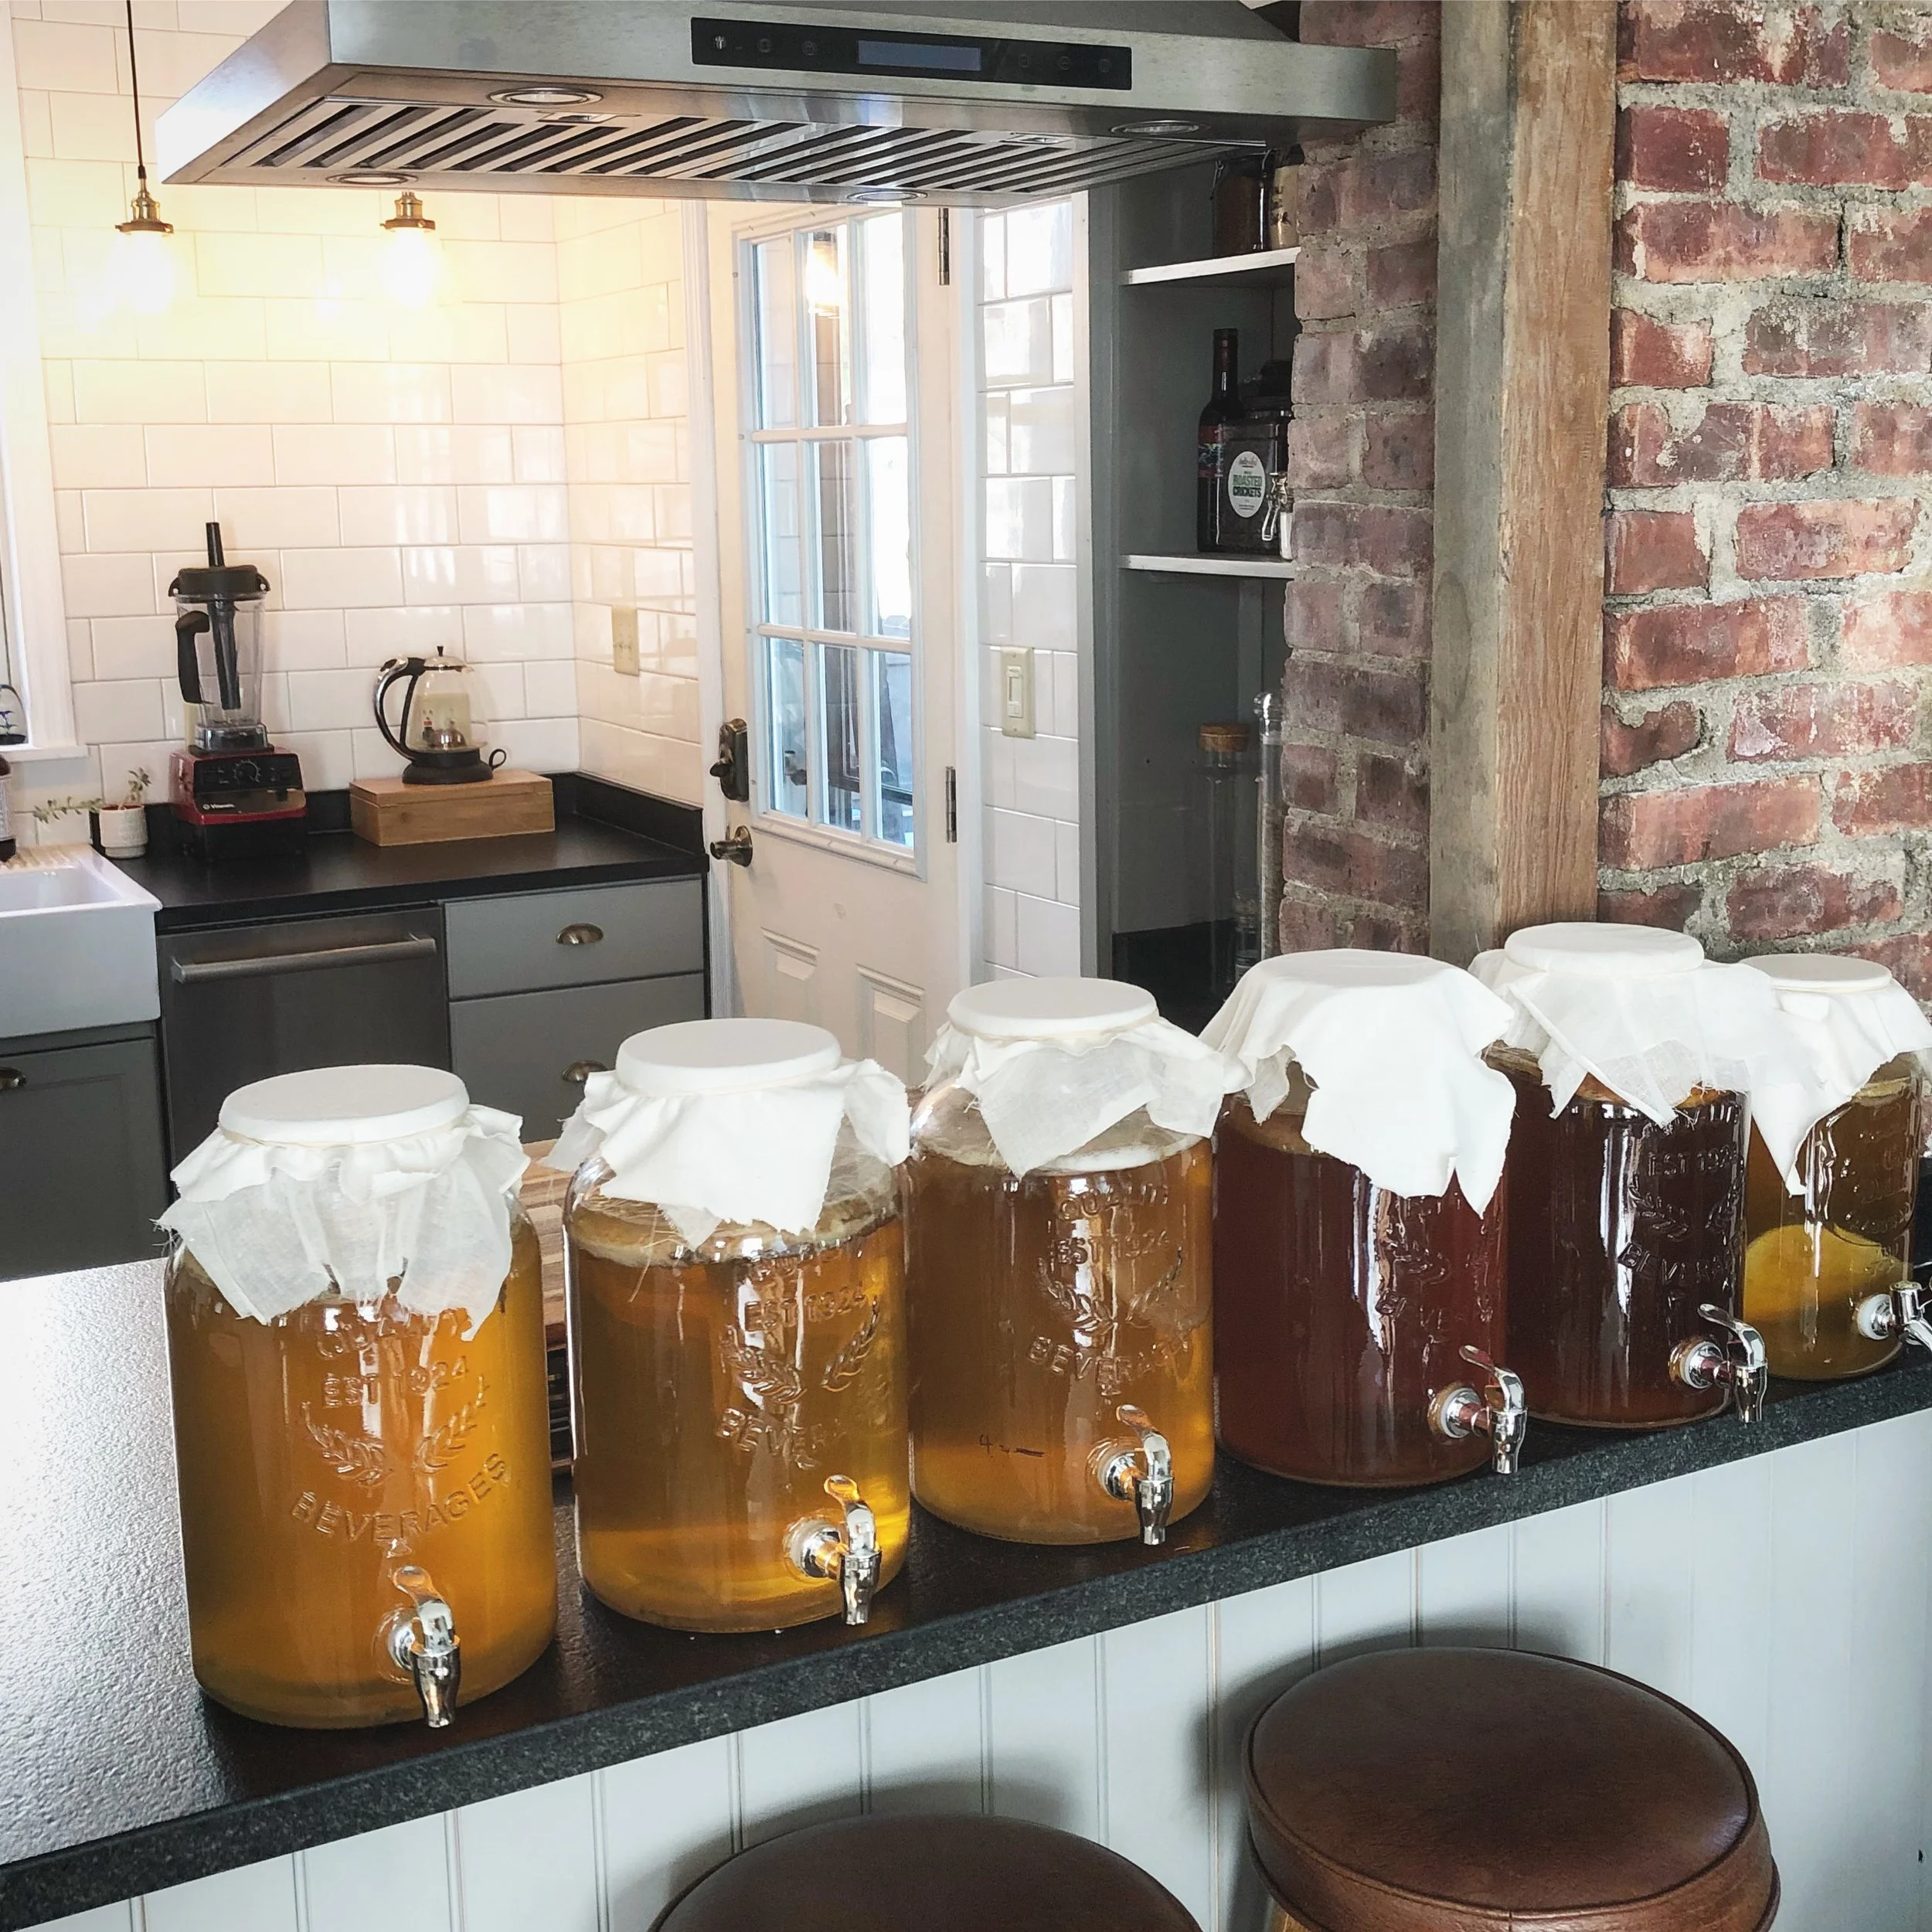
As you ferment, the entire process’ magic ingredient is air. It’s a complex dance between letting your brew be exposed to nature, but protecting it from the elements. To top your vessel, we find things like cheesecloths too porous, and giving way to elements we don’t want in our brew, such as more bacteria, and fruit flies. Our preference is a fine cotton jersey material, such as a cut up white T-shirt. It’s porous enough to let air flow in, but woven tight enough to keep the bad stuff out.
Flavors and bottling. Once you have your base perfect, you’re more than welcome to keep it that way, or you can add some other flavors (sometimes, it gives extra health benefits too). Your flavors will be added on a second fermentation, where you add your own perfect blend of fruits, juices, flowers and/or herbs, and leave it sit to ferment and infuse until it’s exactly what you want in your brew. This second fermentation can last anywhere from a couple days to a week, and you should still be tasting your brew daily. A second ferment also lets more bubbles build up, which is a thing we’ve found booch fans are finicky about. They want their bubbles.
In this fermentation, you’re going to want to have your brew, and ingredients, in a tightly sealed container. We prefer air-tight swing top bottles and growlers with polycone liners. This allows for maximum carbonation and flavor infusions to happen. Lastly, before you begin a second fermentation, make sure you’ve reserved at least 2 cups per gallon of your simple base, so you can brew new batches of booch, and start all of this fun over again.
If you decide you want to try your hand at this too, we’re glad what we do inspires you. In making your own personal contribution to this journey, you’re taking place in multiple centuries of amazing, pioneering brewers that had no idea what firestorm they would eventually create. And in just simply picking up a bottle, you’re taking part in this journey too.
So, whether you’re an obsessed home-brewer or someone that just takes a few bottles home every so often, we’re glad to have you on this journey with us.
Basic 1 Gallon Kombucha Recipe
13 cups water (distilled water)
5 organic tea bags (black/green or combo of both)
1 cup organic cane sugar
2 cups kombucha starter from your last brew
Directions:
1. Boil water and add sugar and tea
2. Lightly stir and leave and steep with lid on for 20-30 min
3. Let cool to room temp and pour into your gallon vessel.
6. Add 2 cups starter tea and your scoby
8. Cover with cloth with rubber band in a warm place out of direct sunlight. Wait 7-14 days until your booch is at correct PH level. Do not touch/move or disturb your kombucha before the 7 days.